
Spooling a fishing reel the right way is one of the most important skills every angler should master. Whether you’re using a spinning reel, baitcasting reel, or conventional reel, proper spooling prevents line twists, tangles, and casting problems. In this guide, we’ll show you step by step how to spool your reel like a pro.
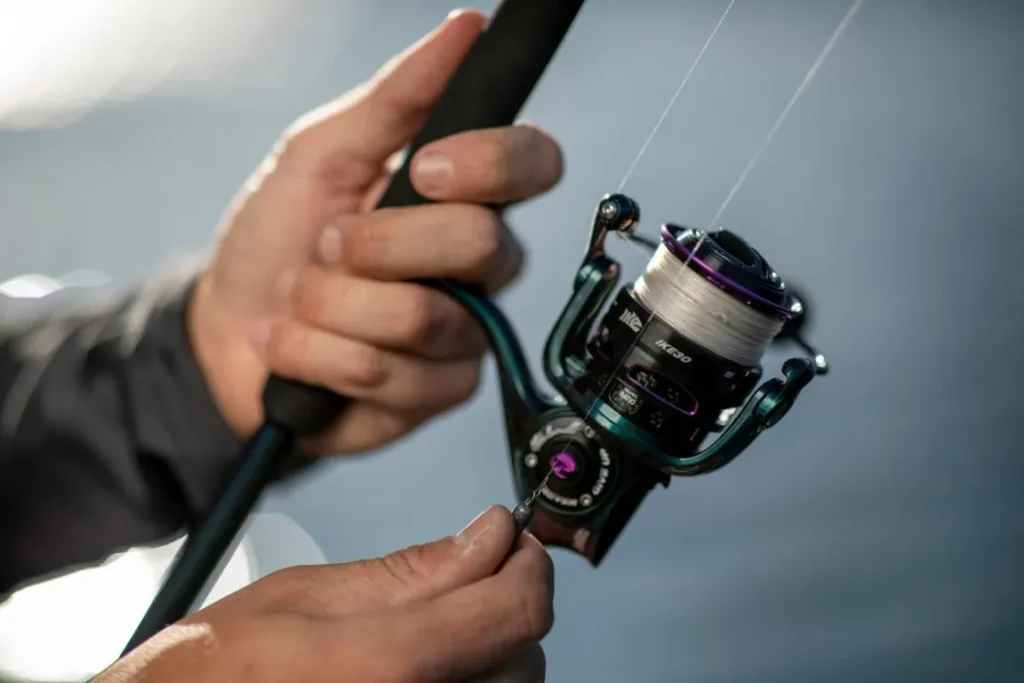
1. Gather the Right Tools
Before you start, make sure you have your reel, rod, fishing line, and scissors. Using quality multi-species rods helps keep tension on the line while spooling, ensuring a tighter fit.

2. Attach the Reel to the Rod
Place the reel on your rod. This setup gives you better control and keeps the line from twisting. For spinning reels, make sure the bail is open before tying the knot.
3. Tie the Line Correctly
Secure the line to the reel spool using an arbor knot. Pull tight and trim the excess line. This prevents slippage during your first casts.
4. Add Line with Tension
Hold the line between your fingers or use a cloth to keep tension as you spool. Turn the reel handle slowly, letting the line lay evenly across the spool. For spinning reels, always match the direction the line comes off the spool to avoid line twist.
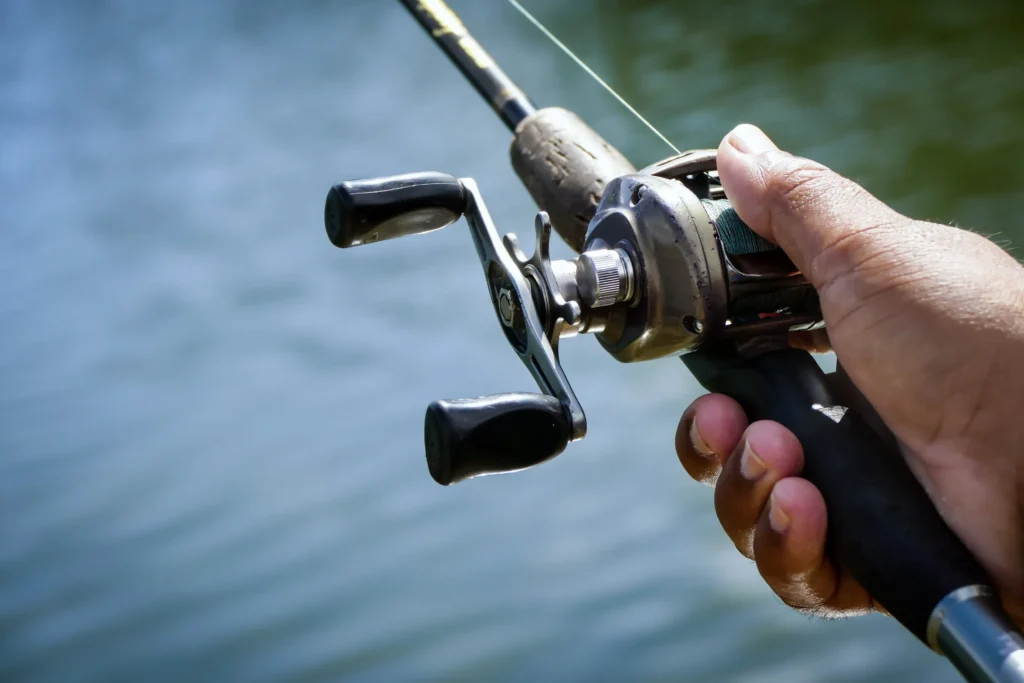
5. Fill the Reel Properly
Stop spooling when the line sits about 1/8 inch from the spool’s edge. Overfilling causes tangles, while underfilling reduces casting distance.
6. Test and Secure the Line
Once filled, close the bail (for spinning reels) and secure the line to the rod’s keeper. Pull a few yards out and reel it back in to check for smoothness.
Conclusion
Proper spooling improves casting distance, accuracy, and overall performance. With a little practice, you’ll be able to spool any reel with ease. Browse spinning reels and baitcasting reels at Anglers Tackle Store to find the perfect setup for your next trip.
For extra guidance, check out this detailed spooling tutorial from Salt Strong. With the right technique, your reels will always be ready for action.